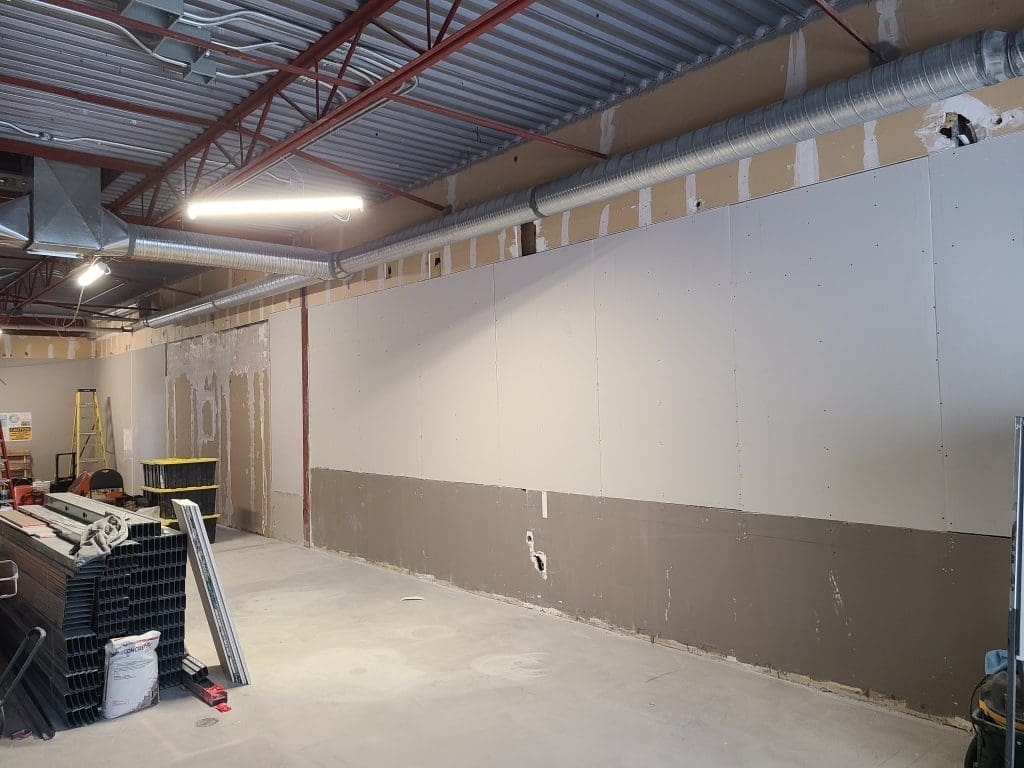
Regarding commercial construction, few elements are as essential as drywall. Providing both structural support and a smooth, aesthetically pleasing finish, commercial drywall plays a pivotal role in shaping the interiors of modern buildings. In this informative blog post, we will guide you through the step-by-step process of commercial drywall installation, shedding light on the essential techniques that ensure seamless execution for any commercial project.
Site Assessment: Setting the Foundation for Success
Before embarking on a commercial drywall installation project, meticulous preparation is essential for a successful outcome. Conducting a thorough site assessment helps identify potential challenges and allows for proper planning.
During the site assessment, experts carefully examine the building’s structure and surfaces. They check for uneven walls, irregularities, or any structural imperfections that could impact the installation process. By addressing these issues upfront, contractors can ensure that the drywall installation proceeds smoothly without any unforeseen setbacks.
Selecting the Right Drywall Materials
The choice of drywall material is crucial for achieving the desired functionality and aesthetic appeal in commercial spaces. Gypsum panels are the most common type of drywall used in commercial construction due to their fire-resistant properties and durability.
However, there are different types of drywall available, including moisture-resistant and soundproof variants, which are suitable for specific areas like bathrooms or conference rooms. Contractors carefully consider the project’s requirements and environmental factors to select the most appropriate drywall material.
Measurement and Planning
Precise measurements and meticulous planning are fundamental to the success of a commercial drywall installation project. Before proceeding, contractors measure the dimensions of the walls and ceilings to calculate the amount of drywall needed accurately. They also consider the placement of doors, windows, and electrical outlets to cut the drywall panels accordingly.
Careful planning ensures that there is minimal wastage of materials and reduces the need for last-minute adjustments during the installation process.
Framing and Insulation: Building a Solid Foundation
The framing system is essential for supporting the weight of the drywall and providing a sturdy structure. Contractors install metal or wood studs vertically along the walls and ceilings to create a framework for attaching the drywall panels securely.
During this stage, insulation is integrated into the framing to enhance the building’s energy efficiency and acoustic properties. Insulation not only regulates indoor temperature but also improves soundproofing, creating a comfortable environment for employees and customers.
Drywall Panel Placement
With the framing and insulation in place, it’s time to begin the drywall installation. Handling large drywall panels can be challenging, and precision is crucial during this stage.
Contractors carefully lift and position the drywall panels against the framing, ensuring a snug fit. The panels are then attached to the studs using drywall screws or nails. Contractors pay close attention to spacing and alignment to achieve a seamless and professional finish.
Taping and Mudding: Creating Smooth Joints
One of the most critical steps in commercial drywall installation is taping and mudding. Taping involves applying drywall tape over the joints between the panels, creating a seamless surface. Joint compound, also known as mud, is then applied over the tape to fill in any gaps and create a smooth appearance.
The taping and mudding process may require multiple layers of compound, which are sanded down between each application to achieve a flawless finish.
Sanding and Finishing
Once the mud has dried, contractors carefully sand the surface to create an even and smooth texture. Sanding removes any imperfections or unevenness, preparing the drywall for its final finish.
Adding Texture and Finishing Touches
Commercial spaces often require specific textures on the drywall to suit their intended purpose. Contractors can apply various techniques to add texture, such as using a sponge, brush, or textured roller during mudding.
Additionally, decorative trims, moldings, or corner beads can be installed to enhance the aesthetic appeal of commercial interiors.
Quality Assurance and Inspection: Ensuring Excellence
Before moving on to the next construction phase, thorough quality checks are performed. Contractors inspect the drywall installation for any visible defects, ensuring that every joint is seamless and the surface is perfectly smooth.
Final Words
Mastering the art of commercial drywall installation requires precision, expertise, and attention to detail. By following this comprehensive guide, you’ll gain a deeper understanding of the crucial steps involved in achieving a flawless finish for your commercial projects.
Remember that every project is unique, and seeking professional assistance from experienced contractors can make a world of difference in ensuring an impeccable outcome for your commercial drywall installations. Happy building!


